


 WinDeveloper O365 Mailer FREE for 1 Year
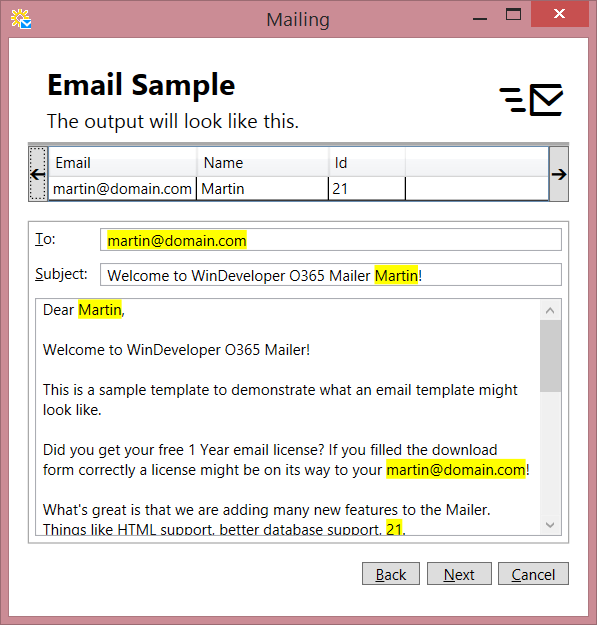
Always test Mailings before SendingA database may include various data types. Textual data is inserted into the email "as is". Other types, such as dates, require a conversion for them to be inserted into the email. It is a good idea to check what the mailing is going to look like before this is sent. For this purpose the Mailing Wizard includes an 'Email Sample' step. This allows us to scroll through the first 50 emails showing exactly how the data is converted and inserted into the email. To see the sample, select the email template and launch the Mailing Wizard as if to submit it for delivery. Move the Wizard forward up to the 'Email Sample' step. Click on the left/right arrows at the top to scroll through different emails.
In the above example some of the inserted data doesn't look right. This can happen if a mistake is done when configuring tags.
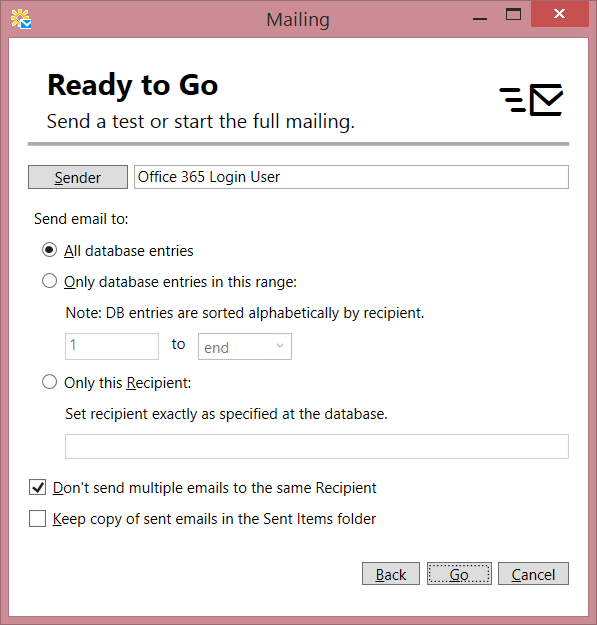
Sending Test EmailsJust looking at an offline email sample is not enough. The sample only shows what the subject and body are going to look like. A complete test should send out a few emails. We should also be able to look at the received email to confirm that everything is fine. Apart for the content, here we want to confirm that the mailing sender is correct and that permissions won't block us from submitting the full mailing. The Mailing Wizard includes some helpful tools for this purpose. In the last
At the mailing database it is always a good idea to have a few recipients reserved for testing. From Alternatively we could choose Another feature useful for testing is available at the same Wizard page through the checkbox
|