


 WinDeveloper O365 Mailer FREE for 1 Year
Sending our first Mailing with O365 MailerWinDeveloper O365 Mailer makes creating, managing and submitting mailings a very intuitive process. Here we walk through the steps, starting from authoring a new email template to submitting it for delivery.
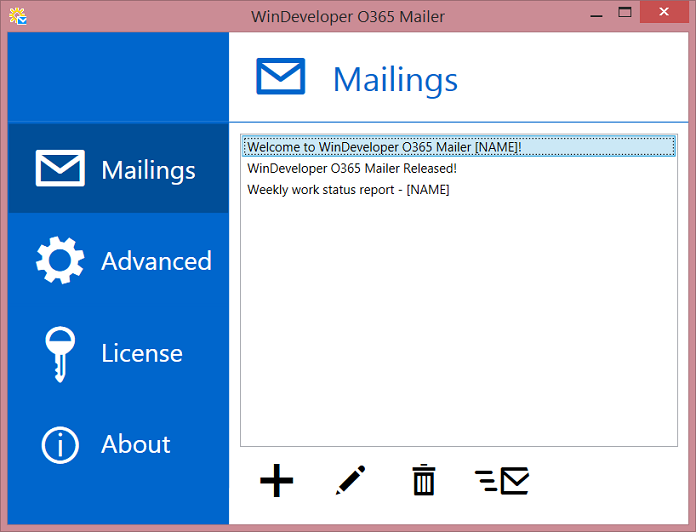
Email TemplatesAn email template looks very much like a regular email. What's special is the inclusion of tags. These are information place holders to be filled-in on sending the mailing. The O365 Mailer interface starts from the email template list. This is the place where we create and manage templates.
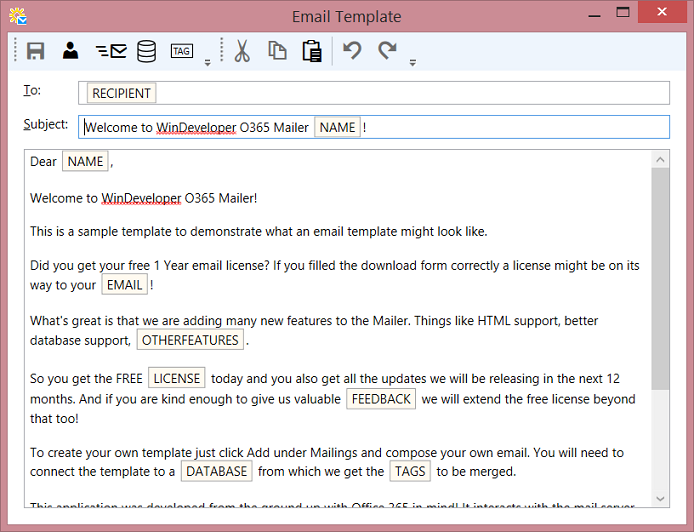
Click on Add to create a new template.
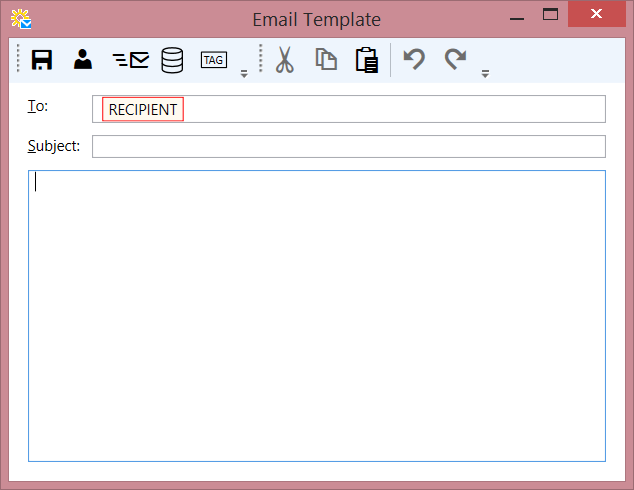
As expected, here we have what looks like a regular email editor interface. The To work with tags we need an MS SQL database. From here the actual tag data is retrieved. At the very least the database must supply us with a list of recipients.
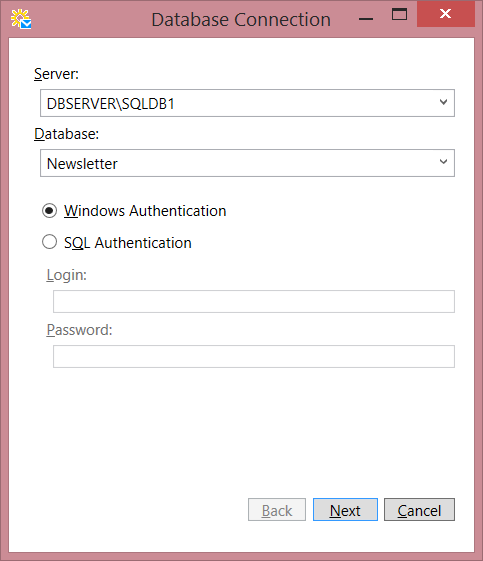
Click on the Database button to configure the database connection.
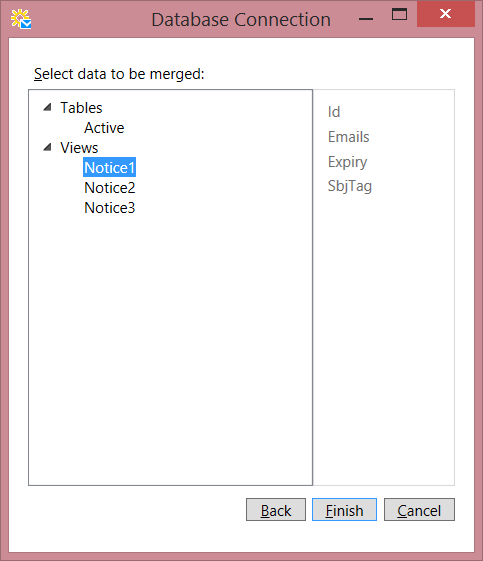
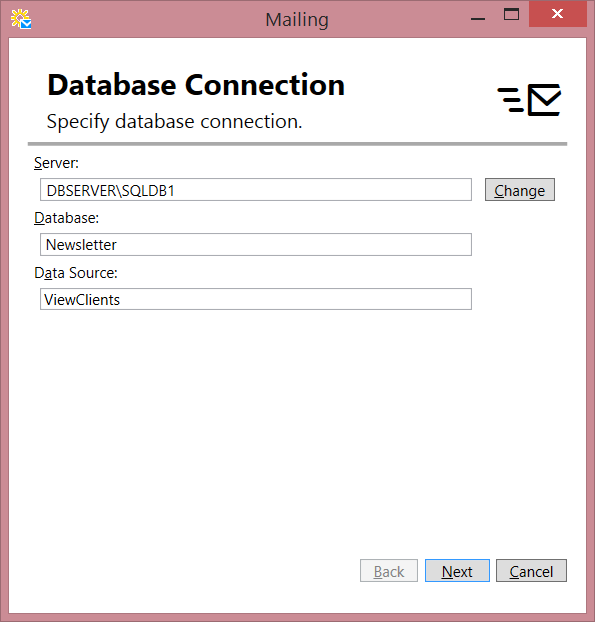
Here we just fill in the usual database connection information; SQL server name, Database name and authentication settings. Moving forward we are prompted to select the Table or View from which the data is to be retrieved.
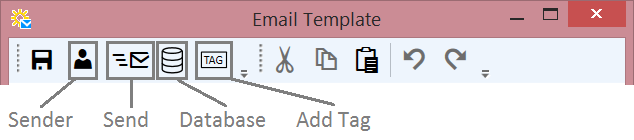
Select the Table/View and click Finish to complete the database configuration. We can now add new tags to the subject and body fields. Click the Add Tag button from the toolbar.
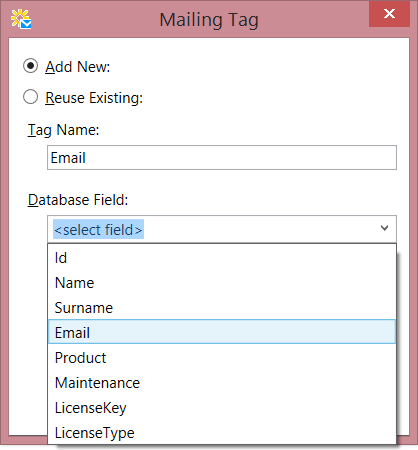
At the Mailing Tag dialog we can create a new tag or reuse an existing one. To create a new tag, enter a unique tag name and select a database field. Here we are creating a mapping between a tag and a database field, telling the mailer from where to retrieve the tag data. To reuse a tag, select Complete authoring the template by inserting more text and tags as necessary. Don't forget to configure the
Finally click the save button to add the template to the template list.
Submitting a MailingTo submit a mailing, open an email template and from the toolbar click the Send button. Alternatively select the template from the main template list interface and click on Send. Either way this launches the Mailing Wizard. The first wizard page shows us the database connection settings.
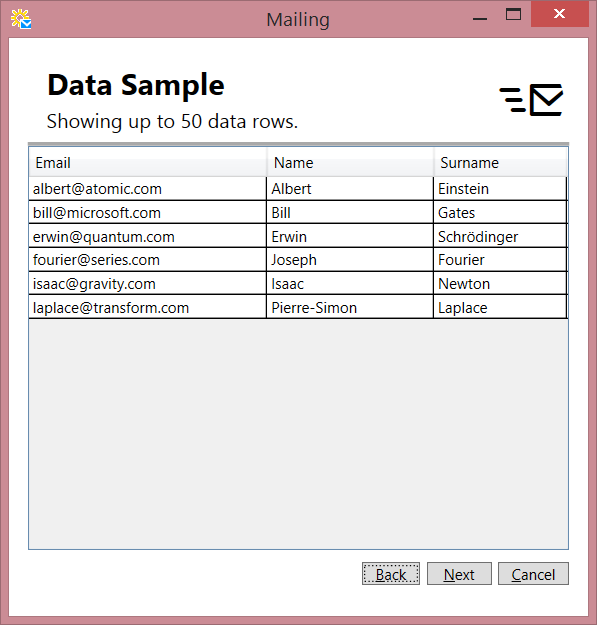
Next the wizard shows the data sorted alphabetically by recipient.
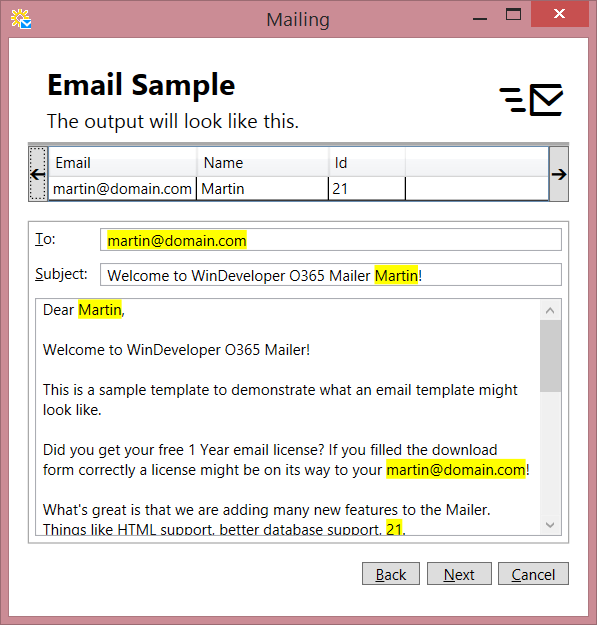
Next the wizard shows us what the email is going to look like. Here tags are replaced by their corresponding data. Take the opportunity to double check that the email looks as expected.
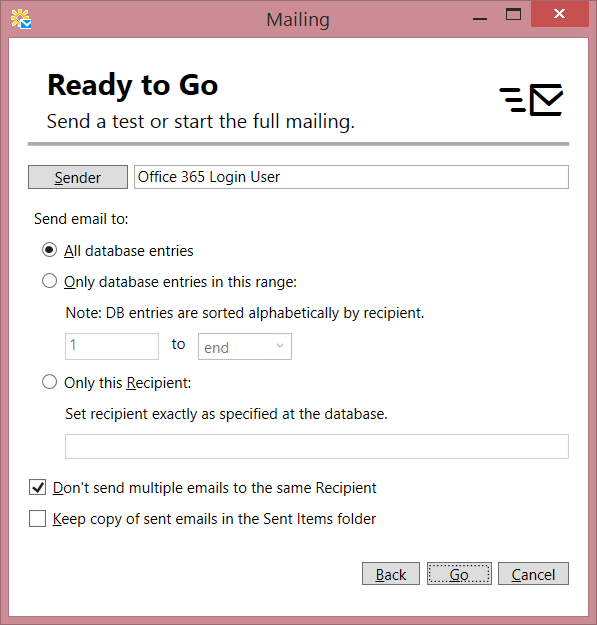
Finally we get to the
From here we can configure a number of options. The options under Clicking Go kicks-off the mailing process. We are prompted to login to Office 365, following that the mailer goes through the database generating an email for each data row.
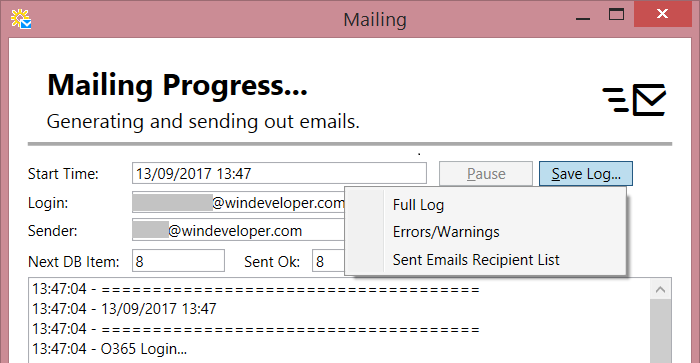
We can follow the progress from the monitor interface. Even better at the end we have all the logs for us to review. Just click This completes our first mailing. We can now run mailings, freeing ourselves from repetitive error prone tasks. To learn more, check the Resources section and follow us on Facebook or Twitter for the latest tutorials.
|